Do you have several movies stored on your PC that seem to be taking up a lot of space? If you’re running short of storage space, that can become an issue if you aren’t careful. It may seem as though your only choice is to delete some of your movies.
The good news is there is one other option: Compress your movies so that they don’t take up so much space. In fact, if you want, you could even convert and compress DVDs, to store them in digital formats with small file sizes. All that you need to pull any of this off is Movavi Video Converter.
In order to compress a movie using Movavi Video Converter, you need to start by launching it, and then adding the movie to the software. To do that, you can drag and drop the file into the main window (as indicated), or click ‘Add Media.’ Then click either ‘Add Video’ or ‘Add DVD,’ depending on whether you want to convert and compress a video file or DVD.
Once the video has been added, you can select the format that you want to use. Normally, one of the best formats for compression is MP4 with the H.264 codec, and you can select it under the ‘Video’ tab in the bottom part of Movavi Video Converter’s interface. If you’d initially added a DVD, this is all that you need to do to convert DVD to MP4.
To compress the video further, click on the output file size on the listing in the main window. When you do, a dialog box will appear with a slider that you can adjust to set the file size that you want your video to be. Keep in mind that by reducing the file size, Movavi Video Converter will automatically reduce the bitrate of the video, which will affect its quality. As such, you’ll have to find a balance between the quality and file size that you want.
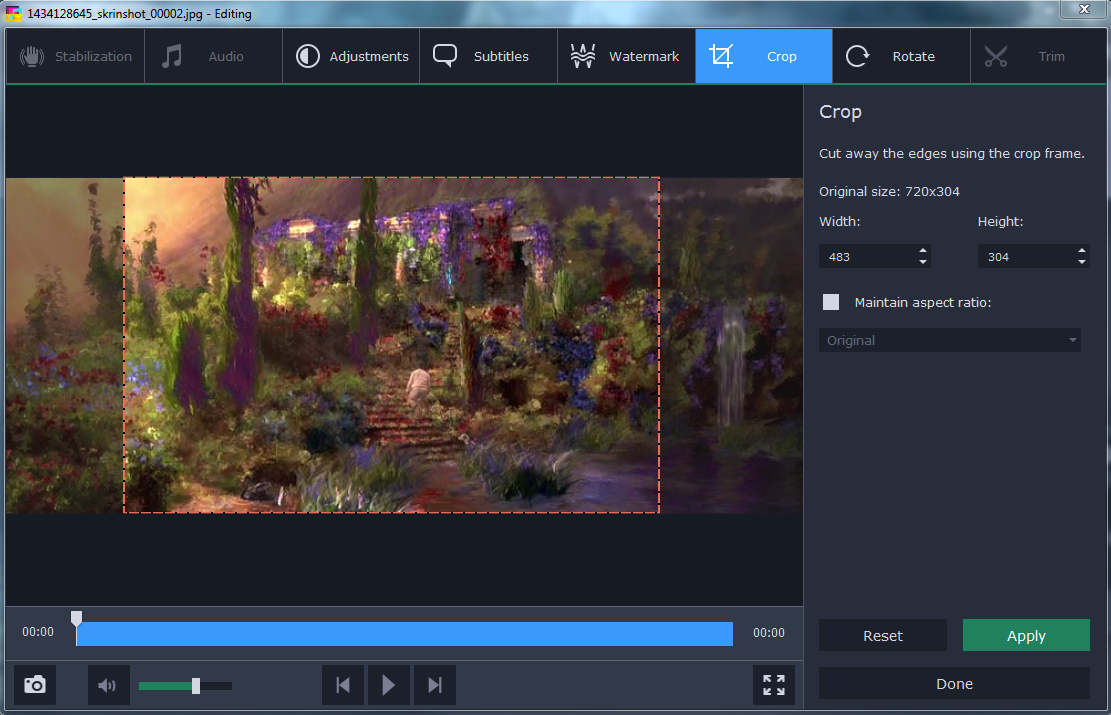
Additionally, you could click on the ‘Edit’ button near where your video is listed, in order to improve it in various ways. In particular, Movavi Video Converter will let you adjust the audio, remove background noise, crop or rotate the frame, adjust the color settings, add captions or fix shaky video segments.
When you’re satisfied, the final step is to just click on the ‘Convert’ button, and sit back as Movavi Video Converter converts your video according to the parameters that you specified. If you want, you can follow the same steps to convert audio and image files, or even use it to extract audio tracks and create animated GIFs.
As you can see, it is easy to convert movie files or DVDs and compress their file size in the process using Movavi Video Converter, and you don’t need to fiddle with any technical settings unless you want to. The next time you’re worried about having to delete movies that are too large, try compressing them instead.

